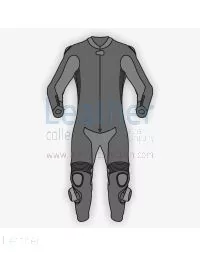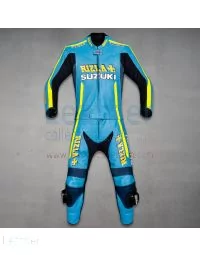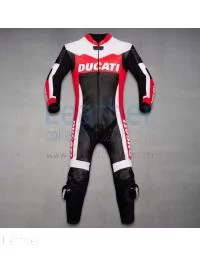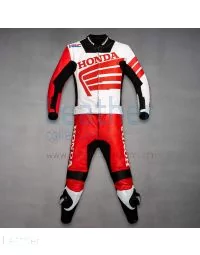
 Canada
  Brazil
  Germany
  France
  Italy
Italy  Switzerland
  Sweden
  Spain
Spain  Great Britain
  Norway
  Russia
  South Africa
  Japan
Japan  New Zealand
  Australia
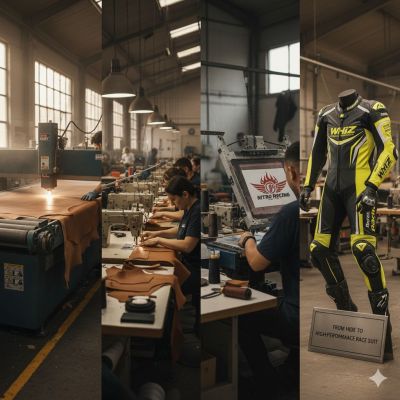
A leather race suit looks simple from the outside: one garment, a few panels, some armor. In practice it passes through several stages, from choosing the hide to the final fitting, and each stage affects how the suit protects and feels on the bike. This guide walks through leather racing suit manufacturing step by step.
If you have wondered how a goes from a raw hide to a made-to-order suit, the stages below explain the process.
Key Takeaways
- A suit starts with the choice of hide: cowhide is the usual material, and kangaroo is chosen where lighter weight matters.
- Panels are cut from rider measurements so that armor sits over the shoulders, elbows, knees and hips.
- Stitching, armor pockets and fitting decide how the suit behaves in a slide, not only how it looks.
- The protection label (EN 17092 class and EN 1621 armor level) is the way to compare suits.
Step 1: Choosing the Hide
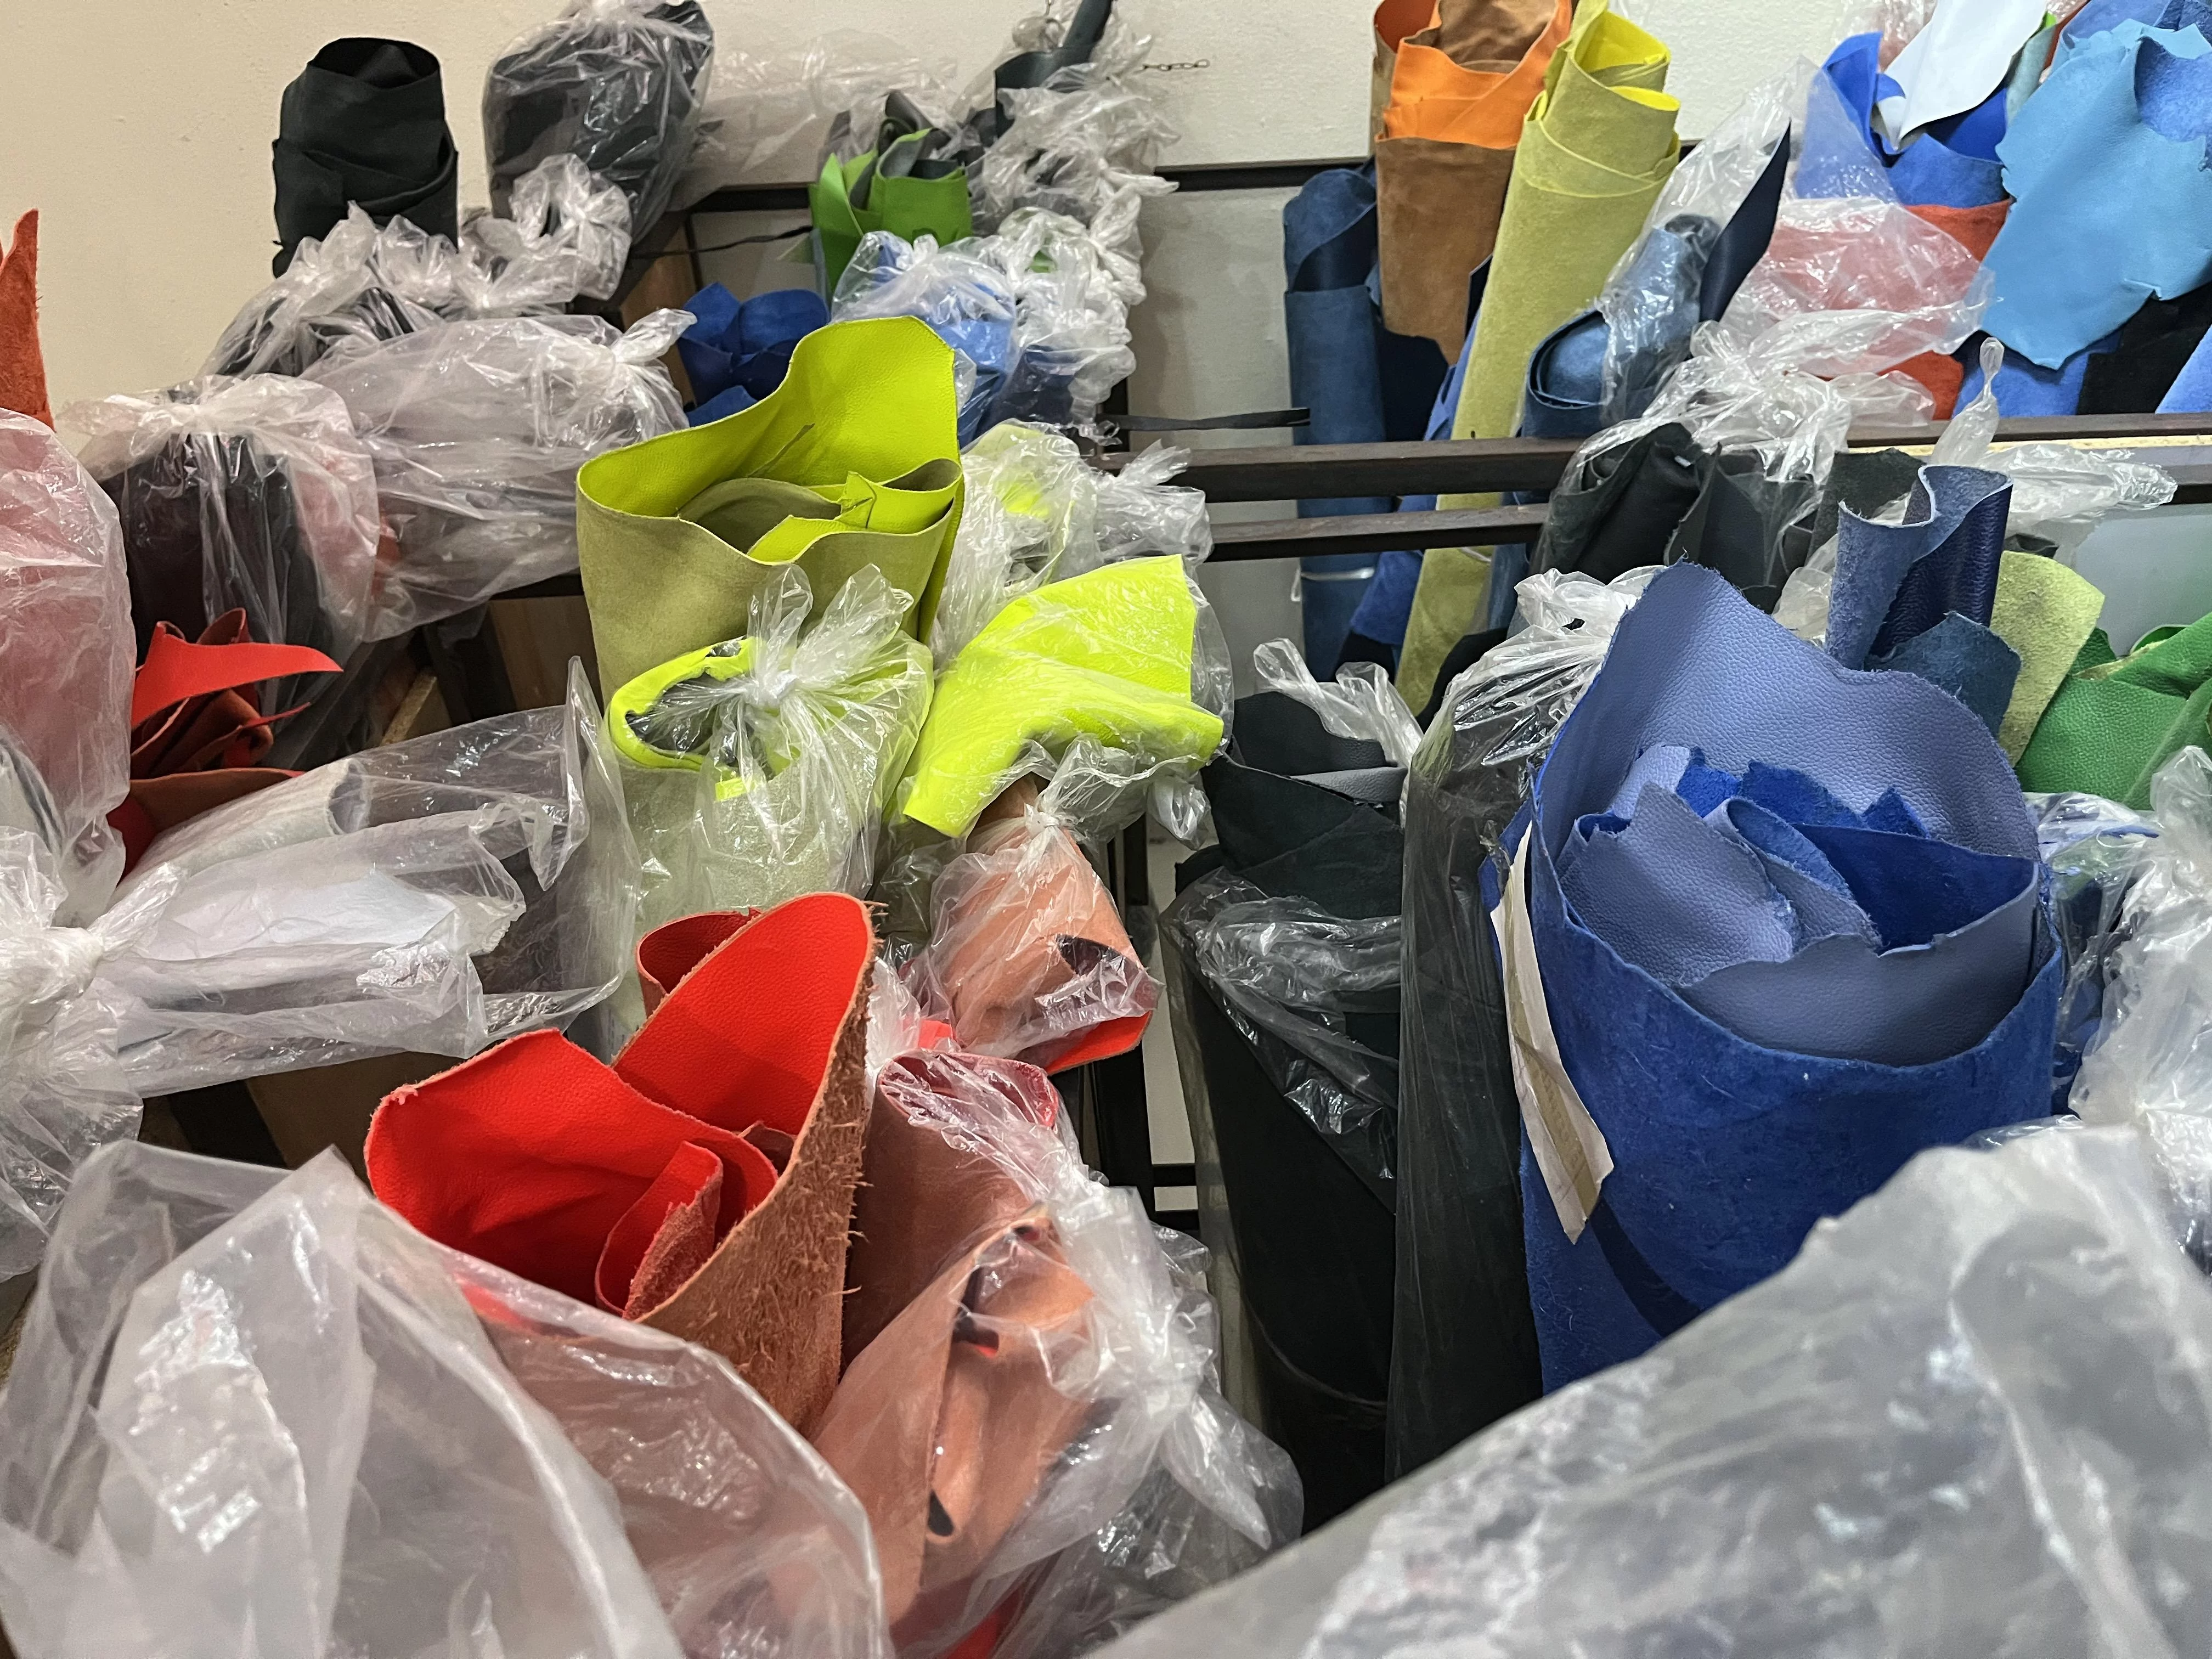
Every racing suit begins with the hide. Cowhide is the usual choice for race suits, and kangaroo leather is widely used where lighter weight is wanted: it is described as lighter and stronger than cowhide and can be cut thin without losing much strength (kangaroo leather overview).
Not all leather behaves the same way. Full grain, top grain, corrected grain and suede differ in their resistance to abrasion, tearing and bursting (motorcycle protective equipment overview), so the grade matters as well as the species.
- Flaws: Hides are checked for scars and weak areas before cutting.
- Consistency: Even grain and thickness help panels wear evenly.
- Finish: Smooth or perforated surfaces are chosen for grip and ventilation needs.
The process from raw hide to protective garment starts with this material.
Step 2: Pattern Making and Cutting
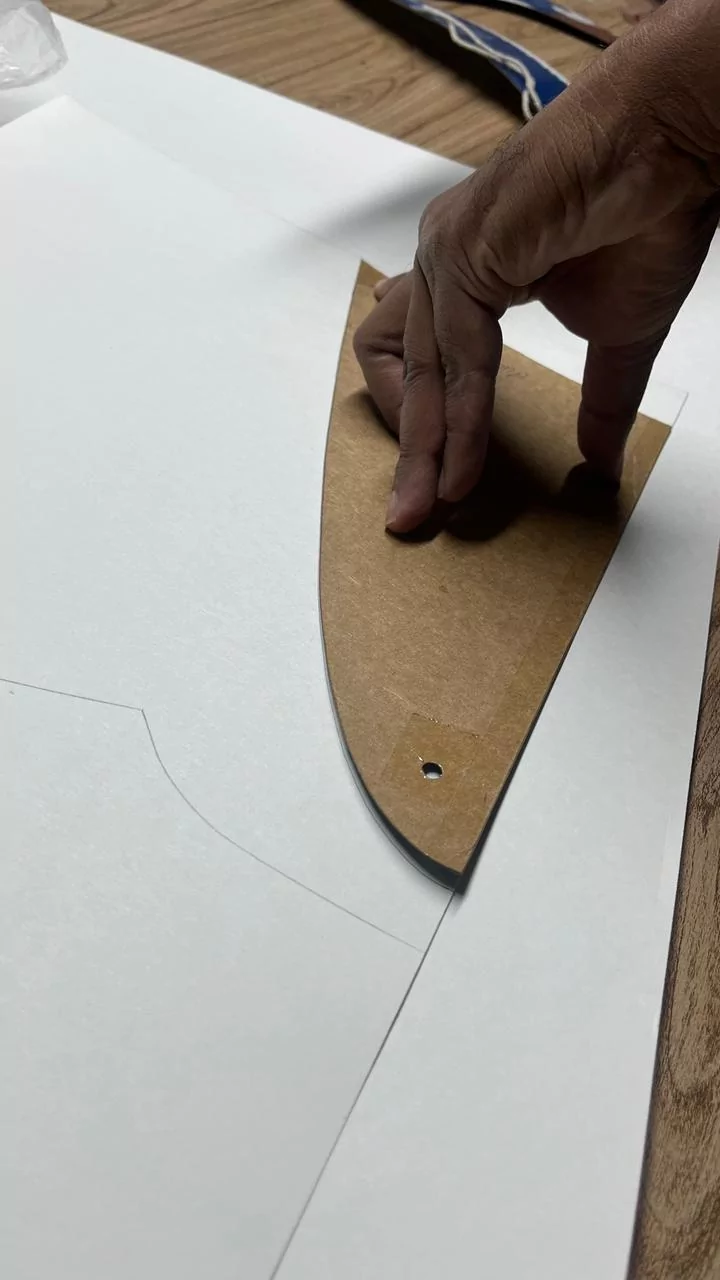
Once the hides are chosen, a pattern maker lays out the panels for the shoulders, torso, arms, legs and knees. In a suit made to measure, the pattern follows the rider's own dimensions, and panels are positioned for the riding posture rather than for a standing mannequin.
Why precision matters
Small differences in cut change comfort and protection. A panel that is slightly too short pulls at the shoulder when the rider leans forward, and a suit that is too loose can let armor move away from the joint it is meant to cover.
Step 3: Reinforcement and Armor Placement
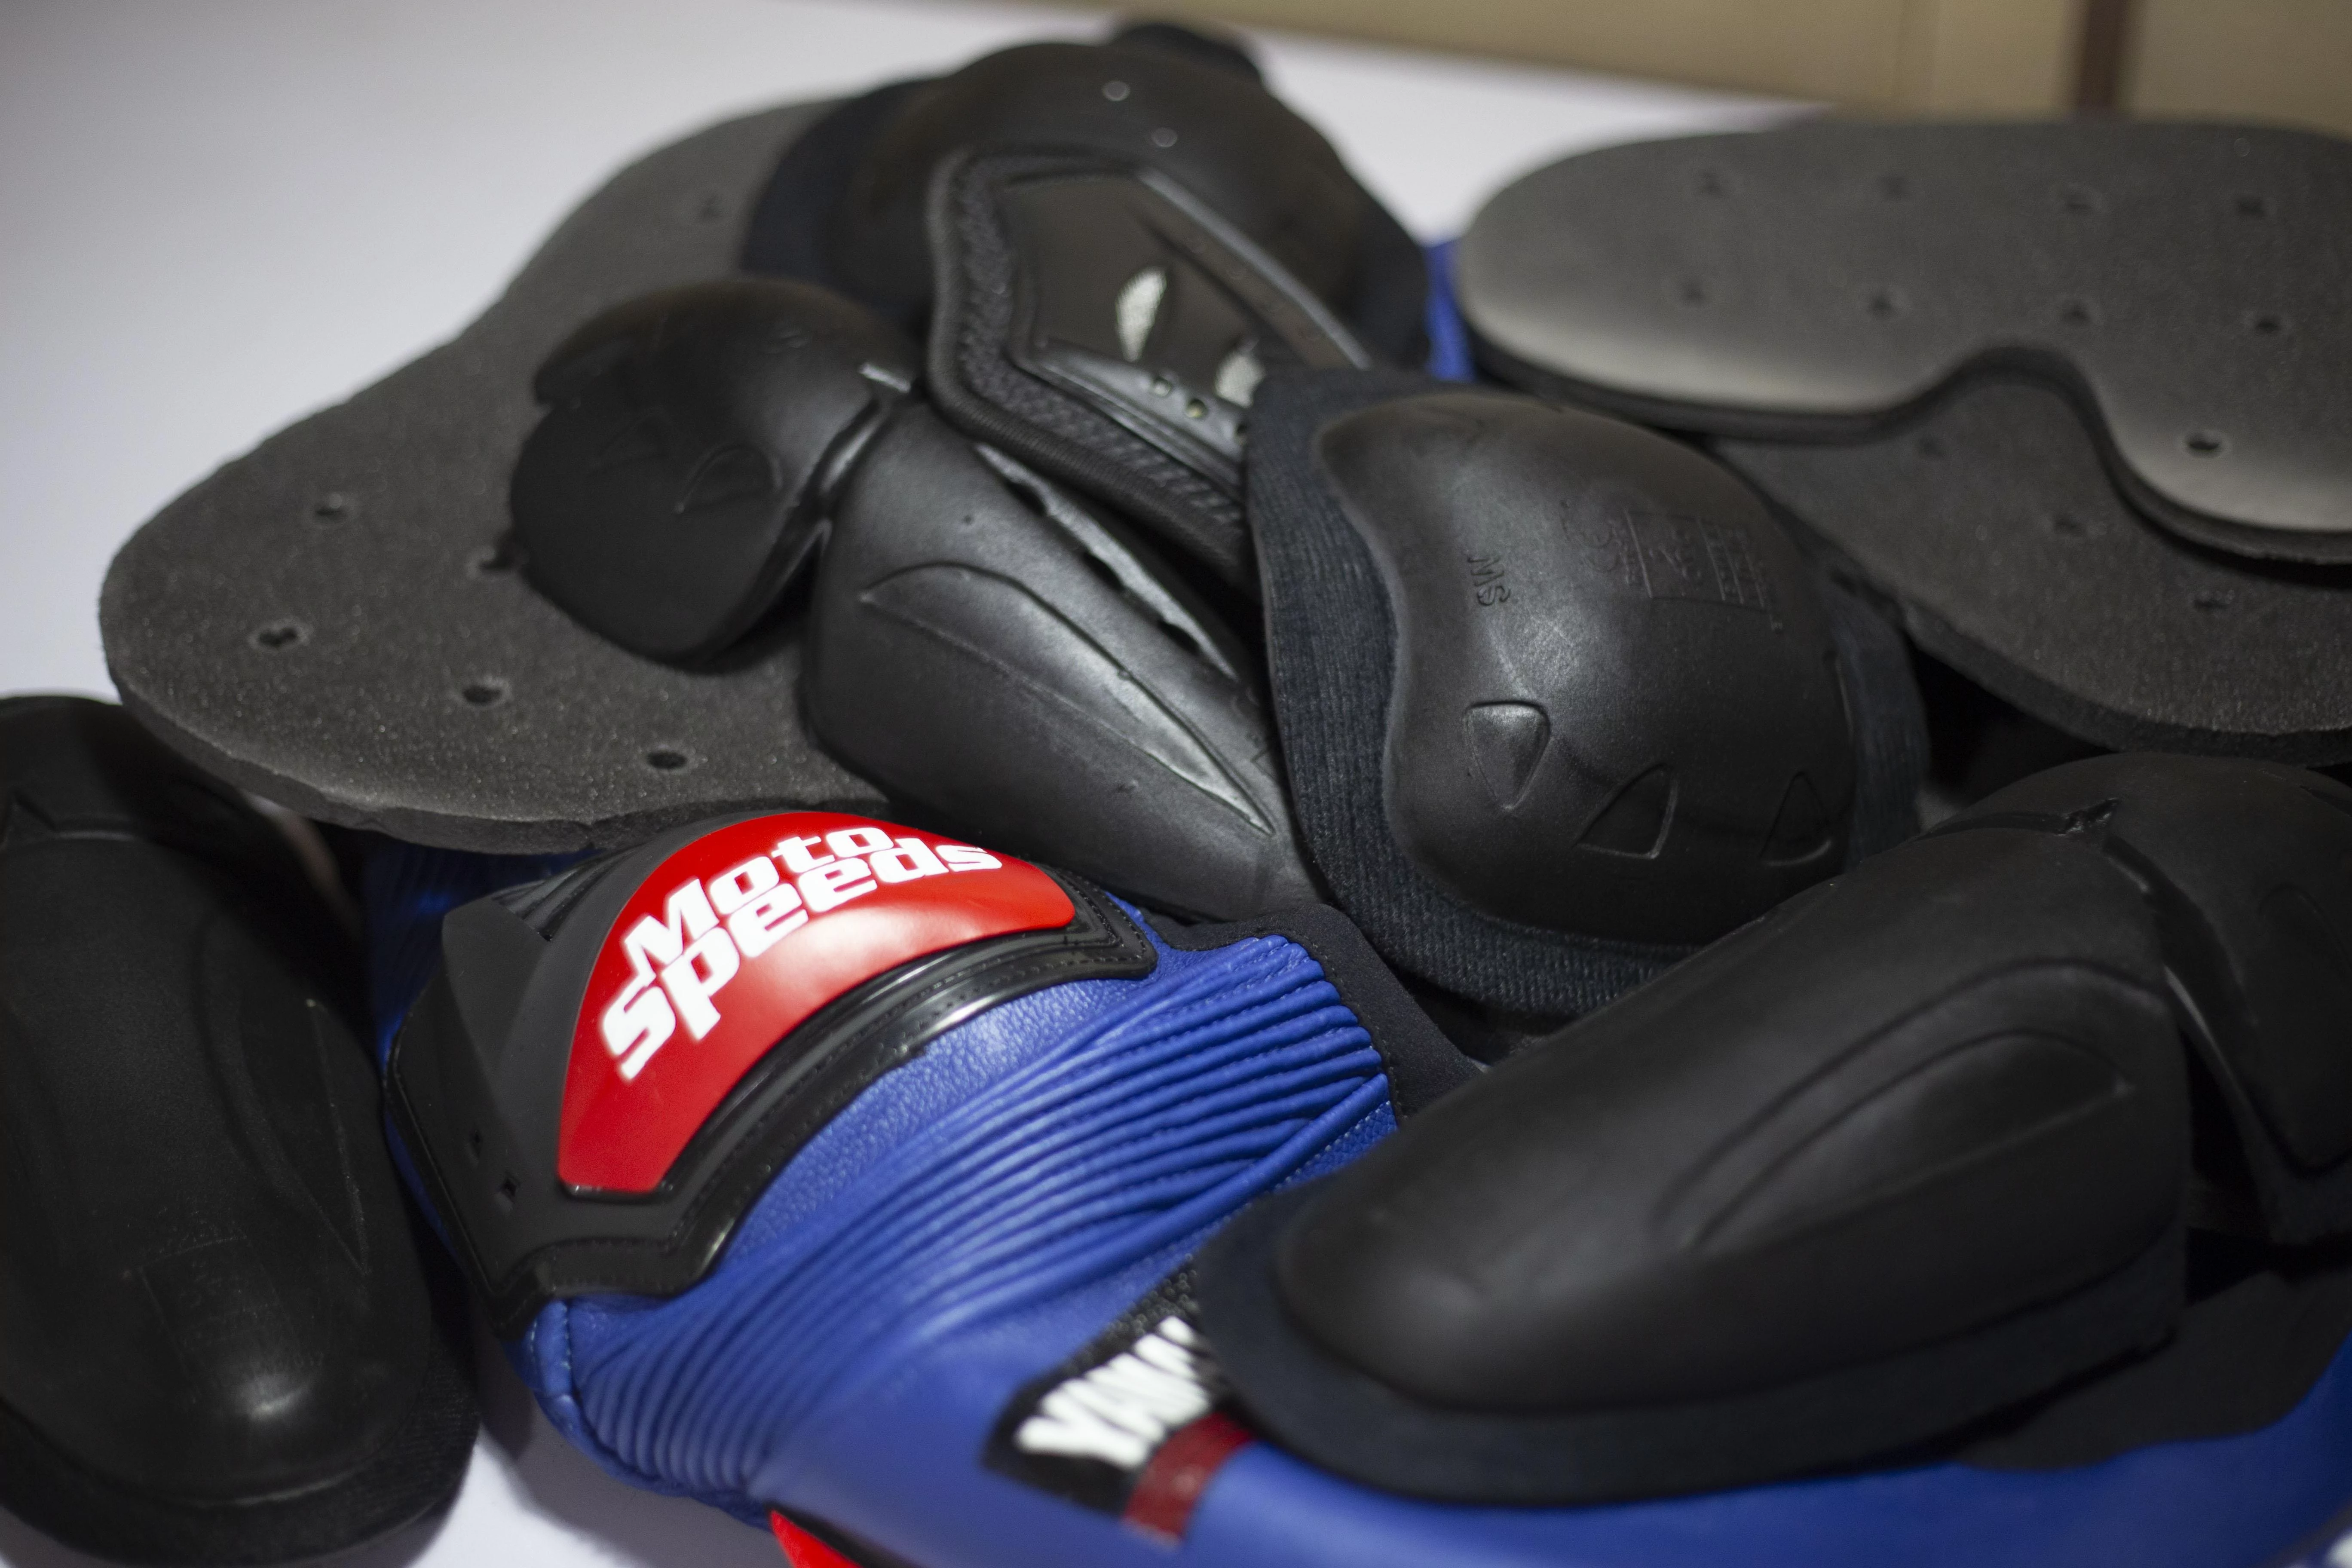
Before the main seams are closed, the areas most likely to hit the ground, such as shoulders, elbows, knees and hips, are prepared for reinforcement and armor. Armor is covered by the EN 1621 standard, which defines Level 1 and Level 2 protection, and Level 2 protectors transmit less force than Level 1 in the standard's test.
Impact zones
- Shoulders, elbows and knees: the joints that standard armor is designed to cover.
- Hips and outer thighs: protected by armor or reinforcement, depending on the suit.
- Back and chest: covered by a back protector and, in some suits, a chest panel.
The armor pockets need to be positioned accurately, because protectors only work where they sit over the joint.
Step 4: Stitching
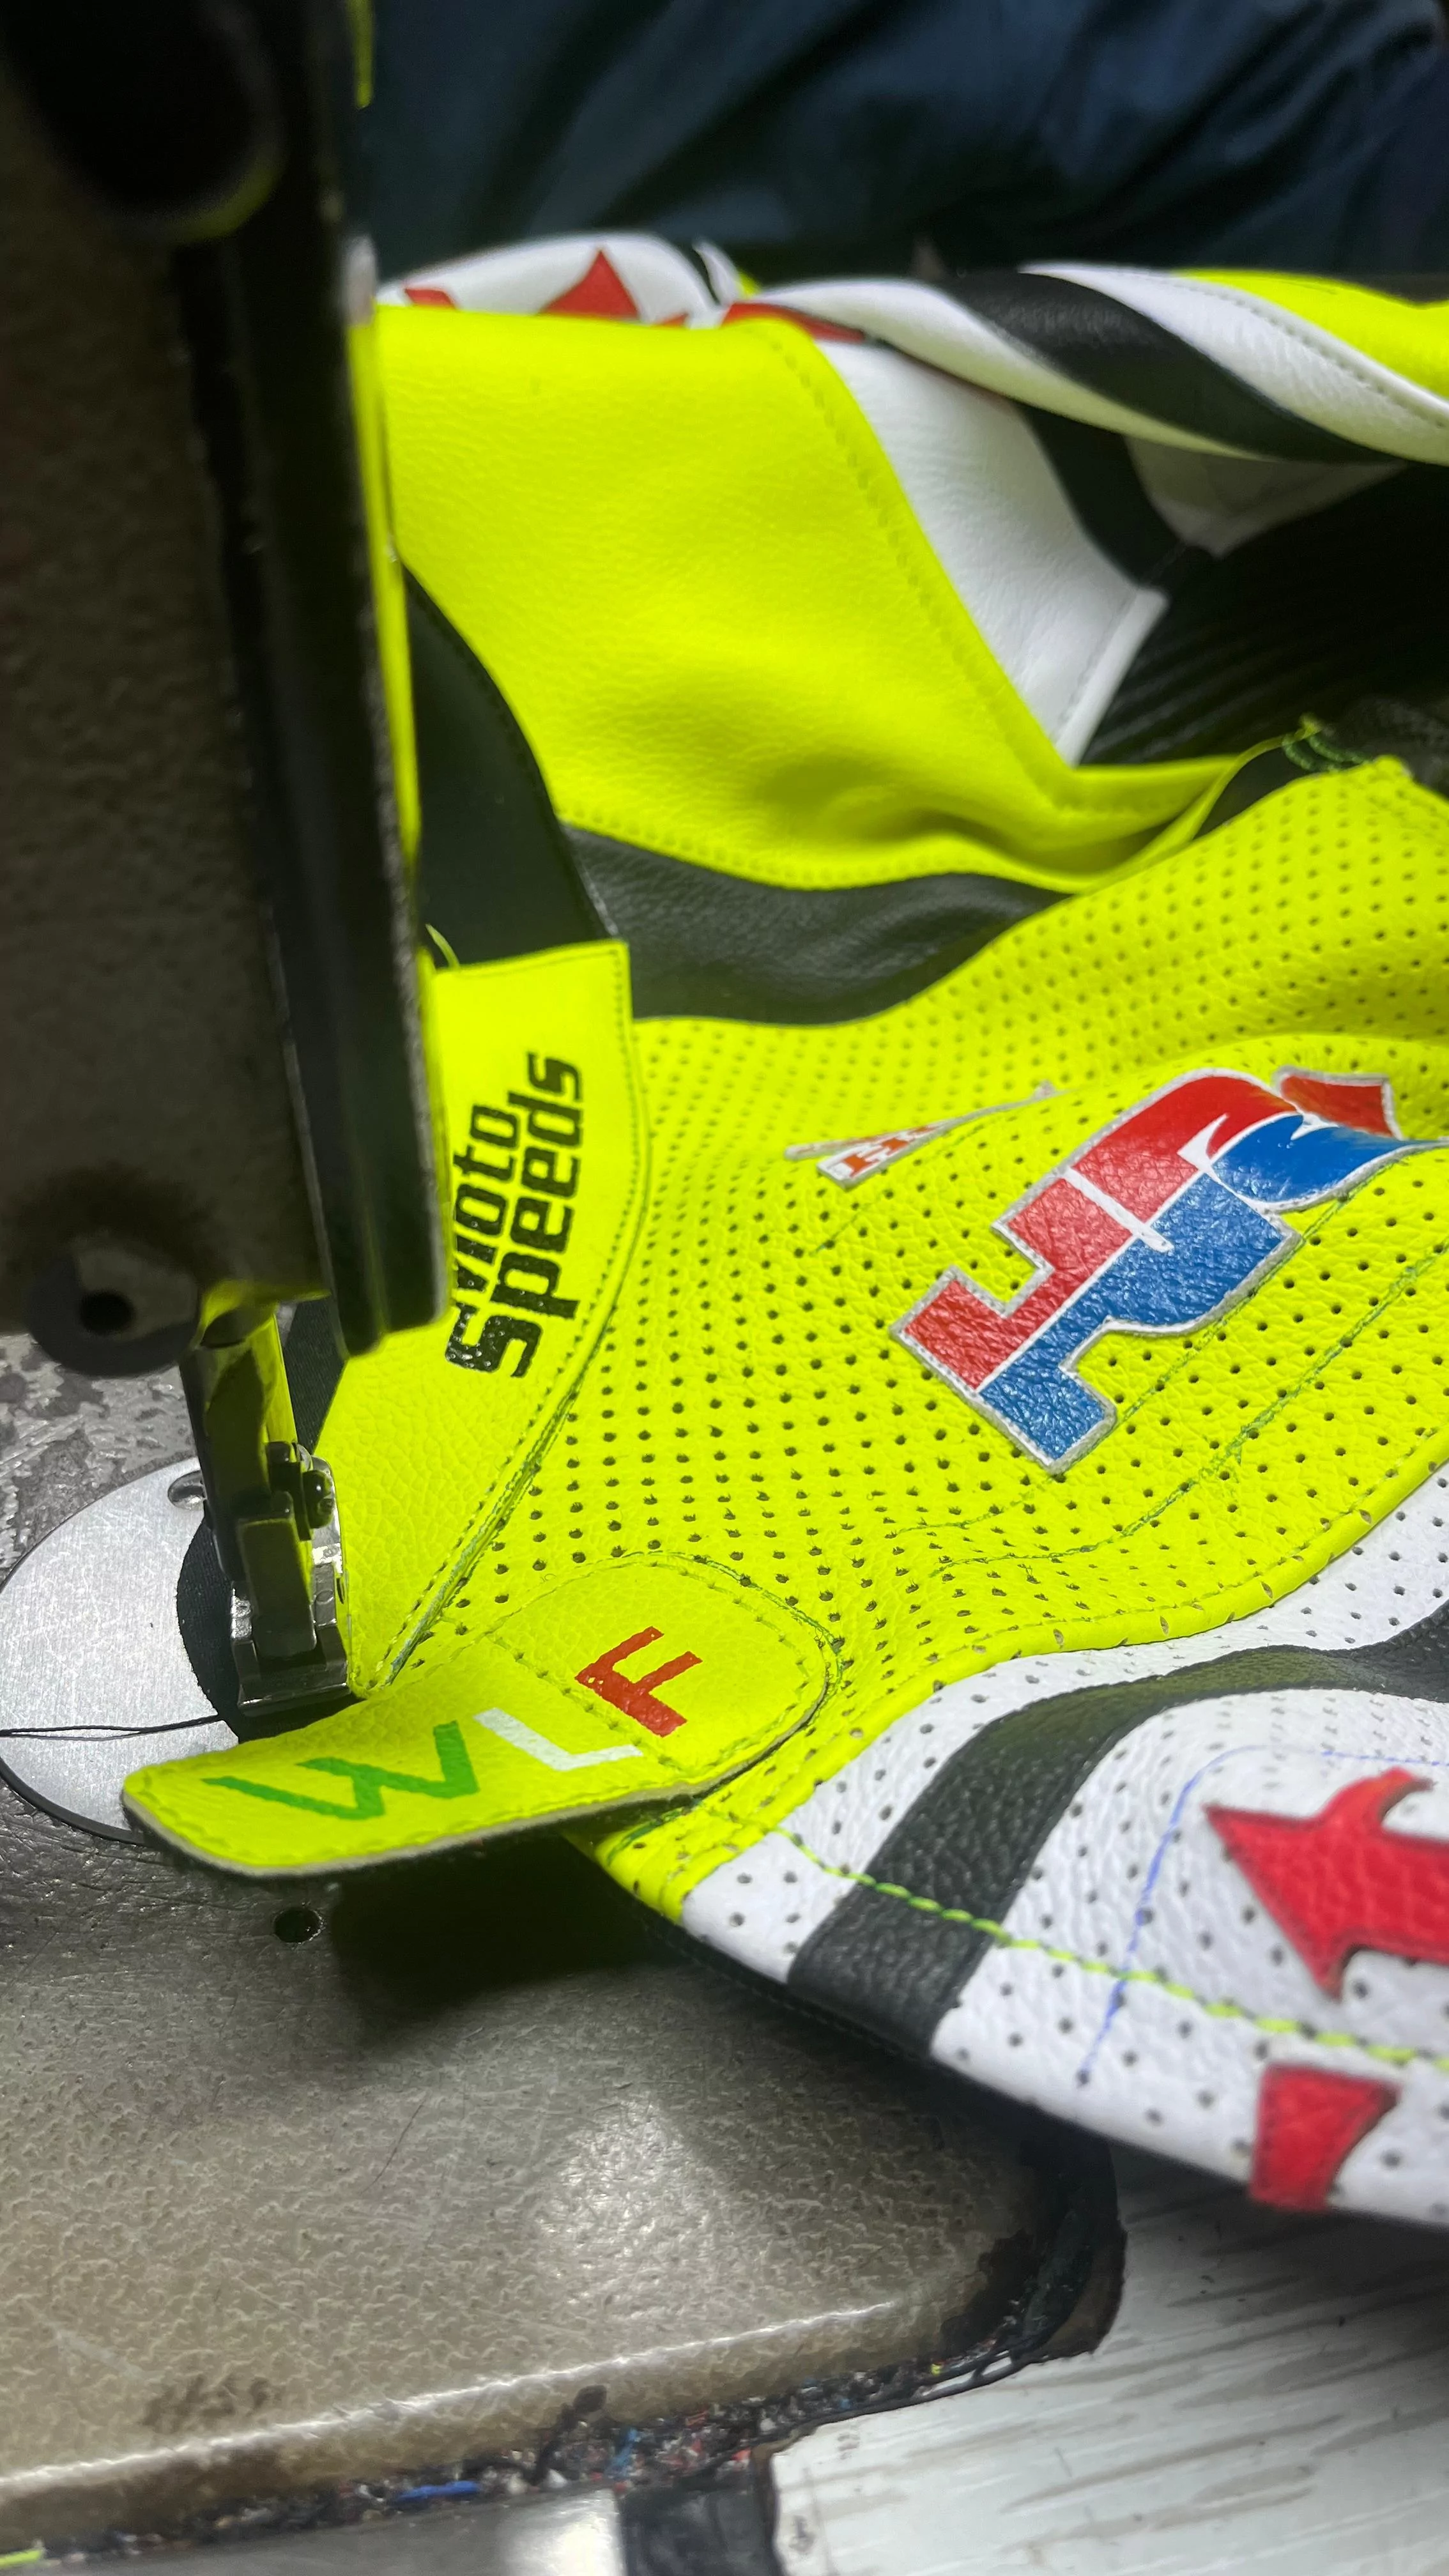
Stitching holds the suit together in a crash. Seams at the shoulders, elbows and knees take the most load, so these areas are typically stitched with strong thread and reinforced folds. A made-to-order design shows how panels and seams are laid out around those zones.
Seams worth checking
- Even, tight stitching without skipped or loose stitches.
- Reinforced folds where the leather bends most.
- Seams placed away from direct contact points where the design allows.
It is structural work as much as sewing, and it is one of the main reasons suits from different makers vary in how they perform.
Step 5: Assembly and Fitting
Once panels and armor pockets are stitched, liners, zips, stretch panels and ventilation areas are added. A fitting stage then checks the suit against the intended riding position. The aim is a close fit that keeps armor aligned and still allows the rider to move on the bike.
Step 6: Finishing and Branding
Finishing includes attaching knee sliders, cleaning the leather and adding logos, names or race numbers where requested. Riders should ask the maker which customizations, such as colors or logos, are offered. For a two-piece alternative to a one-piece suit, the range uses the same approach.
Step 7: Final Checks
Riders can ask the maker which checks are done before a suit is shipped. A final try-on for comfort and range of motion shows whether the suit will behave on the bike. These checks do not replace the protection label: the label describes what the garment was tested to, which is what a rider should rely on.
Step 8: Made to Order
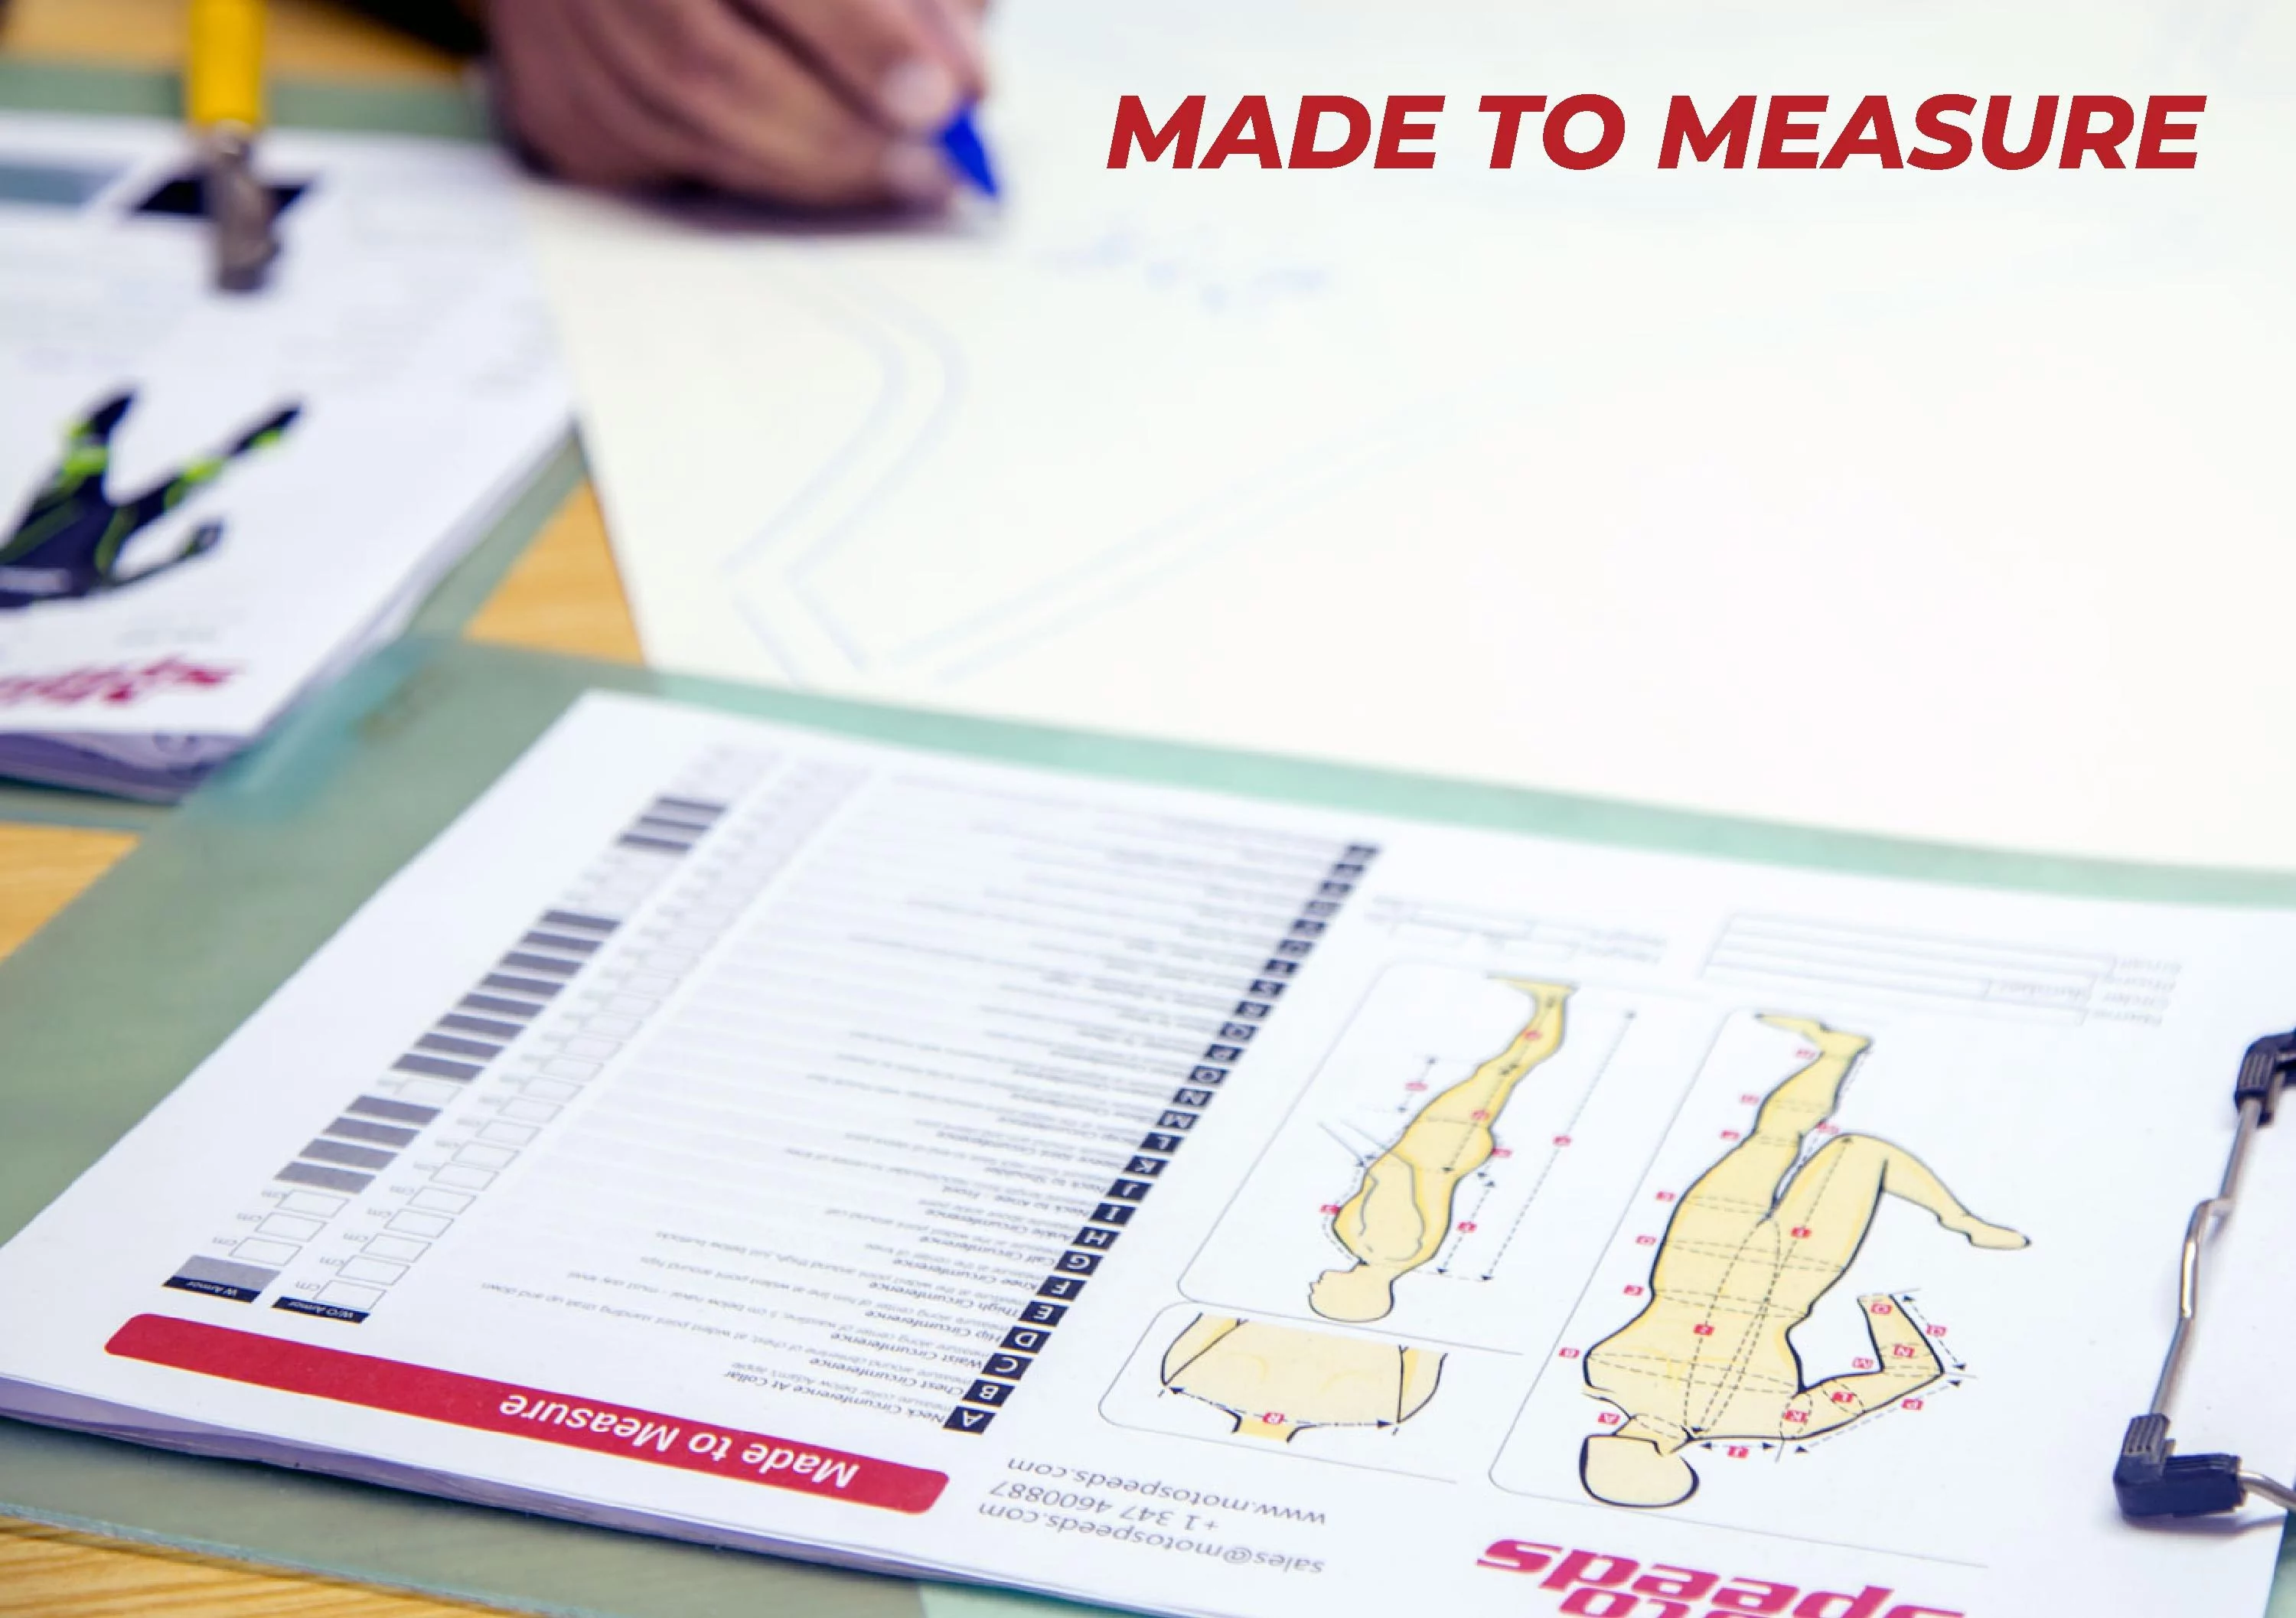
Leather Collection has made hand-stitched, made-to-order leather gear since 2009. Made to order means the suit is built to the rider's measurements rather than pulled from stock sizes.
Why it matters
- Sizing and armor placement follow the rider.
- Colors and designs can be customized.
For riders comparing options, the shows the available suit formats.
Reading the Protection Label
Process matters, but the label is how suits are compared. EN 17092 classifies motorcycle clothing from AAA to C: class AAA is the highest and covers one- and two-piece leather suits suitable for racetracks, AA is described as well suited to touring riders, and classes A, B and C are lower (EN 17092 protection classes). The label shows the class and the testing standard.
Conclusion: Built by Hand, Checked by the Label
From the first cut to the final fitting, your passes through many stages by hand. Understanding them helps riders ask better questions about material, armor, stitching and fit, and choose gear that matches how they ride. For a different style of custom work, see the .
Frequently Asked Questions
How long does it take to make a custom race suit?
The time depends on design complexity and the order, so it should be confirmed when placing the order. Made-to-order suits involve measuring, cutting, stitching, fitting and finishing, which takes longer than choosing a ready-made size from stock, and complex custom designs add further time.
What leather types are used in racing suits?
Cowhide is the usual choice. Kangaroo leather is also widely used because it is lighter and stronger than cowhide and can be cut thinner while keeping its strength. The grade of the leather also affects abrasion, tear and burst resistance.
What does CE and EN 17092 mean on a suit?
EN 17092 is the European standard for motorcycle clothing, with classes from AAA to C. Class AAA is the highest and covers racetrack leather suits. Armor is covered separately by EN 1621, with Level 1 and Level 2 protection. Always check the label on the specific suit.
Can race suits be customized with colors and logos?
Options depend on the maker and the design, so riders should ask which customizations, such as colors, names, race numbers or logos, are offered when ordering. Any added graphics should not cover labels or armor pockets, so this is worth confirming with the maker.
Written by the Leather Collection Editorial Team.